
Building or remodeling a house is an exciting endeavor that requires careful planning, attention to detail, and skilled craftsmanship. While some homeowners may consider taking on these projects themselves, there are several compelling reasons why hiring a professional contractor is crucial. In this blog, we will explore the benefits of entrusting your home construction and…

Accessory Dwelling Units (ADUs) have become increasingly popular in recent years as a practical and cost-effective solution for homeowners looking to maximize their property’s potential. ADUs are self-contained living spaces that are typically located on the same property as the main residence. They can be used for a variety of purposes, including rental income, accommodating…
How to Prepare a Room for Painting: A Step-by-Step Guide
Painting a room can dramatically transform your home's appearance, but proper preparation is key to achieving professional-quality results. Follow this straightforward guide to get your room ready for painting:
Step 1: Clear the Room
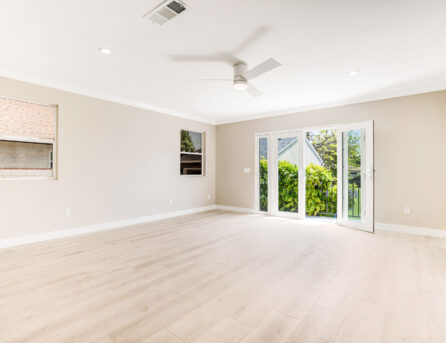
Start by removing as much furniture and decor as possible. Items too large to remove completely should be placed in the center of the room and covered securely with drop cloths or plastic sheeting to protect them from dust and paint splatters.
Step 2: Protect Floors and Fixtures
Cover your floors entirely with canvas drop cloths or thick plastic sheeting to prevent paint drips and spills. Tape the edges securely to the baseboards. Remove or protect light fixtures, switch plates, and outlet covers using painter’s tape.
Step 3: Clean the Walls
Before painting, thoroughly clean walls and trim using mild detergent mixed with warm water to remove dust, grime, and oils. Rinse with clean water and let surfaces dry completely. Clean surfaces ensure better paint adhesion.
Step 4: Repair Imperfections
Inspect the walls carefully for cracks, holes, or imperfections. Fill any small holes or cracks with spackle or drywall compound, then sand the area smoothly once dry. For larger issues, consider patching drywall as needed.
Step 5: Sand and Prime the Walls
Lightly sand walls with fine-grit sandpaper to remove old paint flakes and ensure a smooth surface. After sanding, wipe down walls with a damp cloth to remove residual dust. Apply a primer to create an even, adhesive surface for your paint, especially if you're covering darker colors.
Step 6: Apply Painter’s Tape
Use painter’s tape to protect edges, trim, baseboards, windows, and doors. Press firmly along the edges to prevent paint from bleeding underneath the tape, ensuring clean, sharp lines.
Step 7: Organize Your Tools
Prepare your painting tools—rollers, brushes, trays, and paint cans. Organize everything for easy access, and keep cleanup materials close by, such as rags, paper towels, and paint thinner.
Following these simple preparation steps will help you achieve a flawless, professional finish, saving you time and effort during your painting project.